
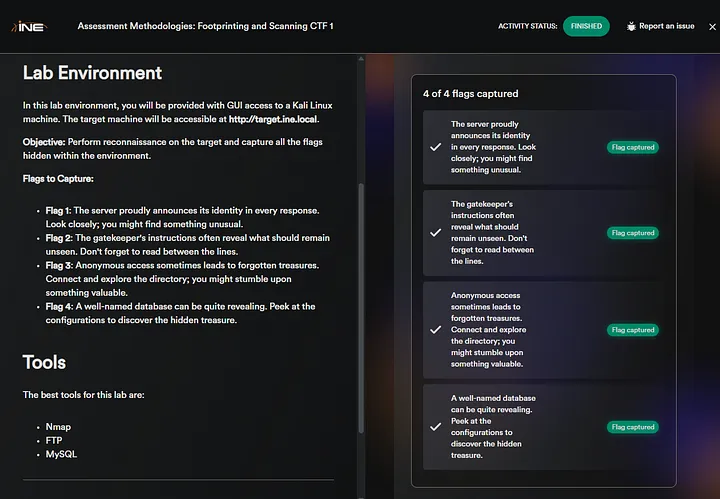
Hi everyone! In this article, we will solve the Assessment Methodologies: Footprinting and Scanning CTF 1 (eJPTv2). I will not share the flags because I don’t want you to copy and paste them, but rather solve it yourself and follow my instructions, so sit back and read!
Flag 1: The server proudly announces its identity in every response. Look closely; you might find something unusual.
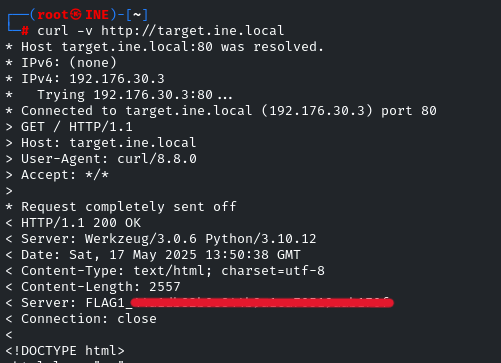
The server announces its identity in every response… It’s the HTTP response, we have to intercept the HTTP response. We can do it by using Burp Suite or by using the curl utility.
Because CURL is easy and quick
curl -v http://target.ine.local
Flag 2: The gatekeeper’s instructions often reveal what should remain unseen. Don’t forget to read between the lines.
As it is the website so we have to look into the robots.txt file as it is the most important and we have to not forget it
So navigate into the /robots.txt file
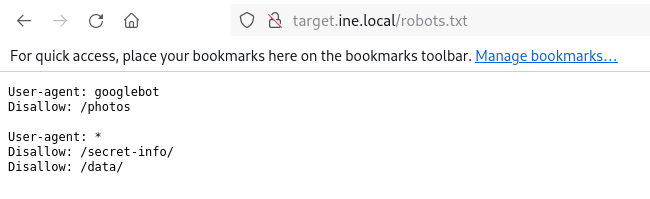
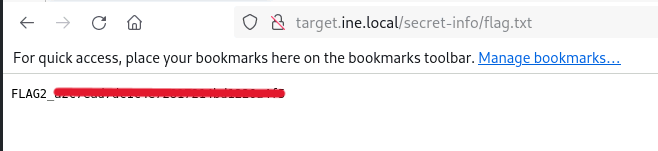
hmm… Interesting, there is something in the /secret-info, let’s check it
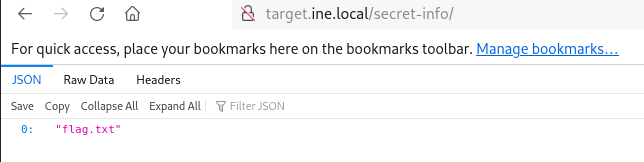
There is the “flag.txt” file inside the /secret-info directory, so now navigate to the “flag.txt” file
Flag 3: Anonymous access sometimes leads to forgotten treasures. Connect and explore the directory; you might stumble upon something valuable.
Anonymous access is mainly available in the FTP, so first, do a quick nmap scan on the target to find that indeed FTP is running
nmap -sS -sV target.ine.local
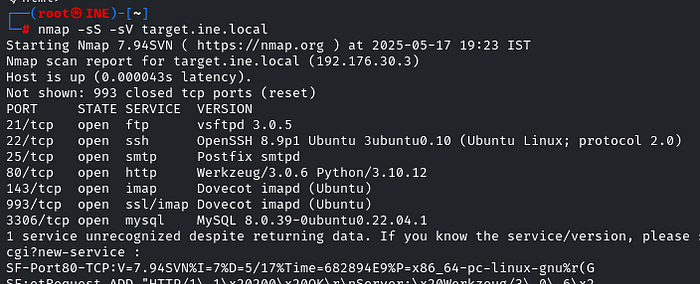
Yes, it’s running… Connect to it
ftp target.ine.local
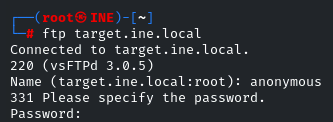
Enter “anonymous” in the username and password fields

There is the “flag.txt”, and one more interesting file is “creds.txt”. Download both files by using the get utility:


Flag 4: A well-named database can be quite revealing. Peek at the configurations to discover the hidden treasure.
So now we have to get access to the MySQL Database, we have also downloaded the “creds.txt” file, and cat it
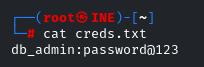
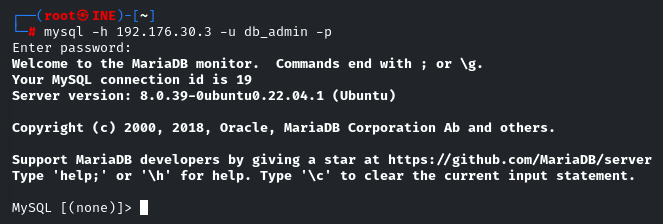
We got the credentials for the database, as it can be identified by the “db” as it stands for database, so let’s connect to MySQL by using the “mysql” utility:
mysql -h <ip> -u db_admin -p
When prompted for password, enter the password: password@123
Once we get access to the Database, we can list all the databases by the command:
show datbases;
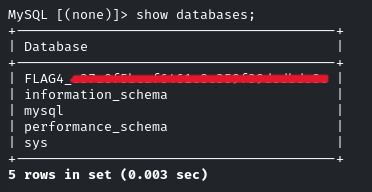
And there you go! It was pretty easy. See you in the next Challenge!
Good luck hackers