
Install Windows Server 2016 on VMware in 5 Minutes

Last updated: August 05, 2025
Install Windows Server 2016 on VMware in 5 Minutes! Let’s Get Started without wasting any time 🙂
NOTE: Follow all steps carefully to avoid errors.
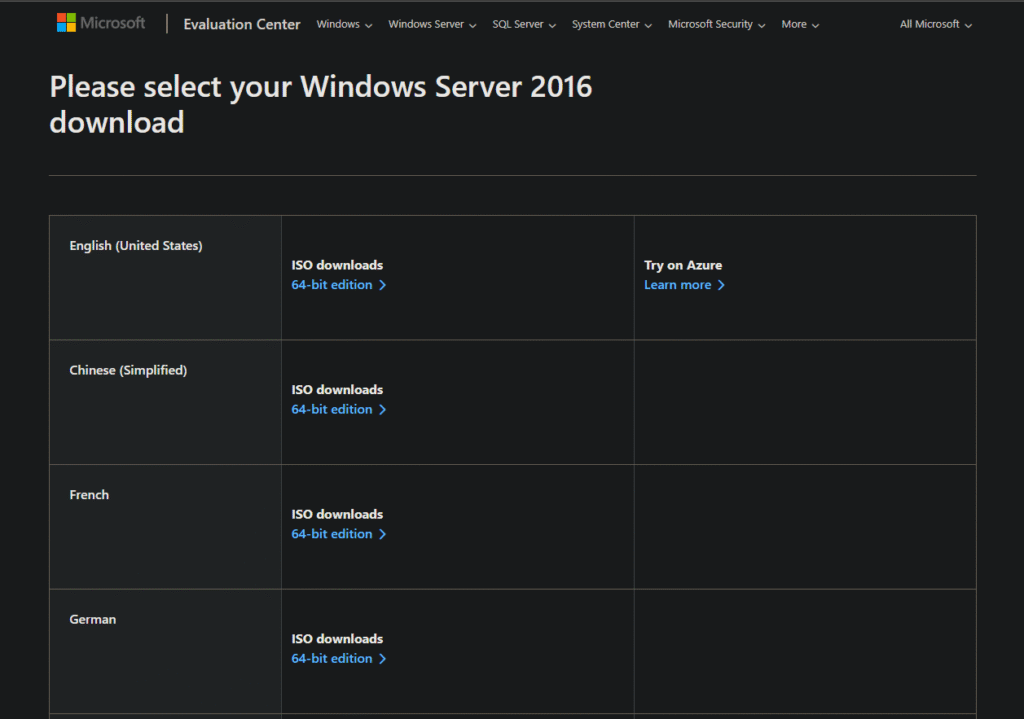
Step 1 – Downloading
Download Windows Server 2016 from the Official Microsoft Website.
Step 2 – Creating a VM
Start your VMware -> Click on the Create a New Virtual Machine

A Wizard will pop up -> Select Custom Configurations and click Next

Click Next

Now, select ‘I will install the Operating system later’

If you select the ISO Image, you will end up with the error below:

Click Next

Now you can give the Virtual Machine a name, and you can browse the Location where you want to save the VM Files
NOTE: It’s not the location of the ISO file; it’s the location where the VM will be saved

Then select the BIOS Firmware type, if not, this also causes a network error 🙂

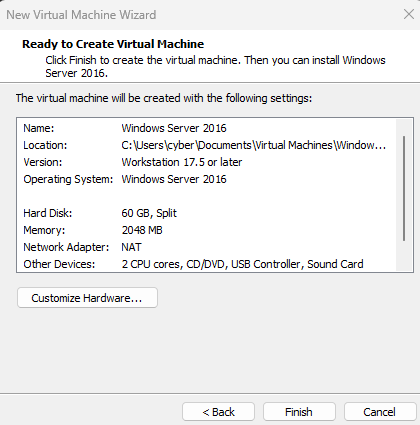
Then click Next for all pages with the default Configurations until you are at the last page:
Click Finish
Step 3 – Editing VM Setting
Now it’s time to select the ISO file of Windows Server 2016. For this, head towards the ‘Edit Virtual machine settings‘

Under the CD/DVD option -> Select Use ISO Image File -> and browse the file where it was downloaded -> then Select OK

Step 4 – Windows Server Setup
Now start the VM, and then you will see the setup window
You can select the Language, Time, and keyboard layout
Click Next

Then click Install now
A new window will pop up for selecting the Operating System. Select the Desktop Experience version, as it supports the GUI, or you will end up installing the CLI version 🙂

Then select Custom Installation

You will now see a Drive Setup wizard -> Select New

By Default, the size will be 60 GB, so just click Apply and Next

Then it will start to install

Set up the Password

And there you go!
Press Ctrl + Alt + Delete or Ctrl + Alt + Insert
Then it will pop up for the password

Thanks for reading, I hope you have not encountered any issues 🙂